The units the game counts in
Everything in PET PARADE runs on a grid of small cells, 20 steps per second. A pet is 4 cells tall, so a cell is a quarter of a pet’s height.
A walking pet moves one cell every four steps, which is 5 cells a second. It walks up a rise of 2 cells and walks down a drop of 1 or 2 cells without falling. Anything taller turns it around; anything deeper makes it fall. A fall is fatal only when it is longer than 24 cells, six times the pet’s height. The first pet leaves the pipe 2 seconds after the level starts, and the release speed you see on the HUD maps to these gaps between pets:
- Speed 1: 3.0 s · 2: 2.4 s · 3: 1.9 s · 4: 1.5 s · 5: 1.2 s
- Speed 6: 0.95 s · 7: 0.75 s · 8: 0.6 s · 9: 0.45 s
- You can never go slower than the speed a level starts at, only faster.
The eight jobs in numbers
Each level hands out a fixed number of each job, and only the jobs it gives appear on the bar. The keys never shift: 1 Climb, 2 Float, 3 Boom, 4 Stop, 5 Build, 6 Bash, 7 Mine, 8 Dig, and each button shows its number.
- Climb: goes up a wall at 5 cells a second. If its head hits a ceiling, it turns and drops off, and that drop counts as a fall.
- Float: the umbrella opens after 6 cells of falling and halves the speed, from 20 cells a second to 10. A floating pet survives any height.
- Boom: a 5-second fuse, then a blast reaching 7 cells in every direction from just above the pet’s feet. Steel survives; the pet is lost.
- Stop: stands still and turns back any pet walking toward it from within 2 cells.
- Build: 12 planks. Every half second it lays a plank 3 cells wide, then steps 2 cells forward and 1 up, so a full set climbs 12 cells (three pet heights) over 24 cells of ground.
- Bash: a tunnel 5 cells high, one cell every 0.3 seconds. It goes back to walking when the next 4 cells hold nothing to break.
- Mine: every 0.4 seconds, 2 cells forward and 1 down, a slope everyone behind can walk.
- Dig: a shaft 5 cells wide, one cell deeper every 0.3 seconds. If it breaks into open space, the digger falls from there.
When a job is refused, and why
Tapping a pet that can’t take the selected job plays a refusal sound and spends nothing. Climb and Float stay with a pet for good, so each pet takes each of them once, and one pet can carry both. Boom goes to any pet that isn’t already ticking, even one in mid-air. Stop needs ground under the pet’s feet. Build, Bash, Mine and Dig need a pet on the ground, but they can replace each other at any time: a builder can switch to Bash at the top of its stairs, or a basher to Dig.
Build has one special case. Giving Build again to a pet that is still building only works when it has 3 or fewer planks left, and it adds 12 more to the same staircase. Give it earlier and nothing happens, which is a common reason long bridges fall short.
In a crowd, a tap goes to the nearest pet that can accept the selected job, not simply the nearest pet, so a tap on a bunch of pets skips the ones already carrying that job.
A first pass through the Meadow
The six Meadow levels teach one job each, and the next level opens as soon as you earn one star.
- Dig In, Stairs Over the Pond, Through the Hill: one Dig over the cave, one Build close to the pond, one Bash at the foot of the hill. One job is enough each time.
- Hold the Line: 12 pets, home to the left. The stopper never comes home, so 11 is the most you can bring back, and 11 is exactly the three-star count.
- Up and Over and Soft Landing: 8 Climbs for 8 pets, then 10 Floats for 10 pets. Every pet needs its own, so give them as they leave the pipe.
Stars already include the pets you spend
Each level sets the goal for one star and two higher counts for the second and third, and those counts already allow for job costs. In Pop a Hole, the first Caves level with Boom, 10 pets come out and three stars need 9, because the bomber does not survive its own blast. Expect the same whenever a level gives you Boom or Stop.
Your best result on each level is kept by stars first, then pets home, then how quickly you reached the goal, then how few jobs you used. Reaching the goal does not end the level; the message “Goal reached! Keep going for more stars.” appears and the rest of the herd keeps walking.
Getting a stopper back
There are two ways to release a stopper. Boom frees the herd but loses the stopper. Dig rescues it: of the ground jobs, Dig is the only one a stopper accepts, and once it digs down it walks again. Hold and Dig and Blocked Burrow in the Caves are built around this, and their hints say so.
Don’t leave a stopper standing at the end. Once every pet has come out and the only ones left are stoppers without a fuse, the level counts them as lost and finishes. The Snowfield levels Snow Rush and Igloo Operation give you one Boom and no Dig, so there the stopper is meant to be spent.
Steel, timing and the clock
Bash checks the whole 5-cell column in front of it, so steel anywhere in that column, even low down, stops it with a clank. That is why Bash Above the Steel wants a few planks of Build first, to lift the tunnel over the hidden steel, and Under the Steel wants the opposite: Mine down below the steel, then switch the same pet to Bash.
Pause stops the clock in Adventure and still accepts jobs, and F cycles fast forward through ×2, ×4 and back to normal. When the time limit runs out, every pet still on the map counts as lost, so a slow release on a long level can cost stars even with a perfect path. Pop all needs a second press within 2 seconds; it closes the pipe and sets every remaining pet ticking, one tenth of a second apart.
Online races
Every racer gets a separate copy of the same course with 20 pets. The first to bring 14 home wins, except on Volcano Hop, where 12 are enough. There is no pause or fast forward. Once the first player finishes, the rest have 30 more seconds, and a player who can no longer reach the target is marked “Can’t reach the goal”. Places go by the simulation step at which each player reached the target, so a tie on the same step shares the place.
Finishers earn 10, 6, 4 and 3 points for first to fourth and 2 for any later place; players who don’t finish get 0 and are ranked by pets home, then by fewer lost. Points go to your account only when you are signed in.
How fast the bots are, and what that teaches
Bots follow each course’s built-in solution: easy bots keep the starting release, normal bots raise it by two after 2 seconds, and hard bots use the release changes written into the solution, which on four courses come later than that. I ran each course’s bot script through the game’s own simulation without any human input and timed how long it took to reach the target:
- Meadow Dash: easy 39.0 s, normal 31.9 s, hard 33.8 s
- Cave Run: easy 47.9 s, normal 41.3 s, hard 37.7 s
- Snowy Stepping Stones: easy 49.0 s, normal 39.2 s, hard 45.1 s
- Volcano Hop: easy 42.9 s, normal 35.1 s, hard 30.2 s
- Fork in the Road: easy 31.9 s, normal 24.3 s, hard 25.6 s
- The Big Hill: easy 47.6 s, normal 37.9 s, hard 40.0 s
Racing takeaways
On four of the six courses the normal bot beats the hard one, and the only difference is when the release speed goes up. A correct path is the same for everyone; places are decided by how early you turn the release up. Every pet that leaves the pipe before the path is finished has to be held back, so the moment to speed up is right after the last tunnel or bridge opens, not after the first pet reaches the door.
There is no pause in a race, so clear Adventure levels with the same jobs first. Meadow Dash gives Build, Dig and Stop; Cave Run, Mine and Bash; Snowy Stepping Stones, three Builds; Volcano Hop, Climb and Float for every pet; Fork in the Road, Stop and Dig; The Big Hill, Build and Bash. Rivals’ pets are drawn faded on your map, so you can see how far ahead or behind you are.
Play it yourself
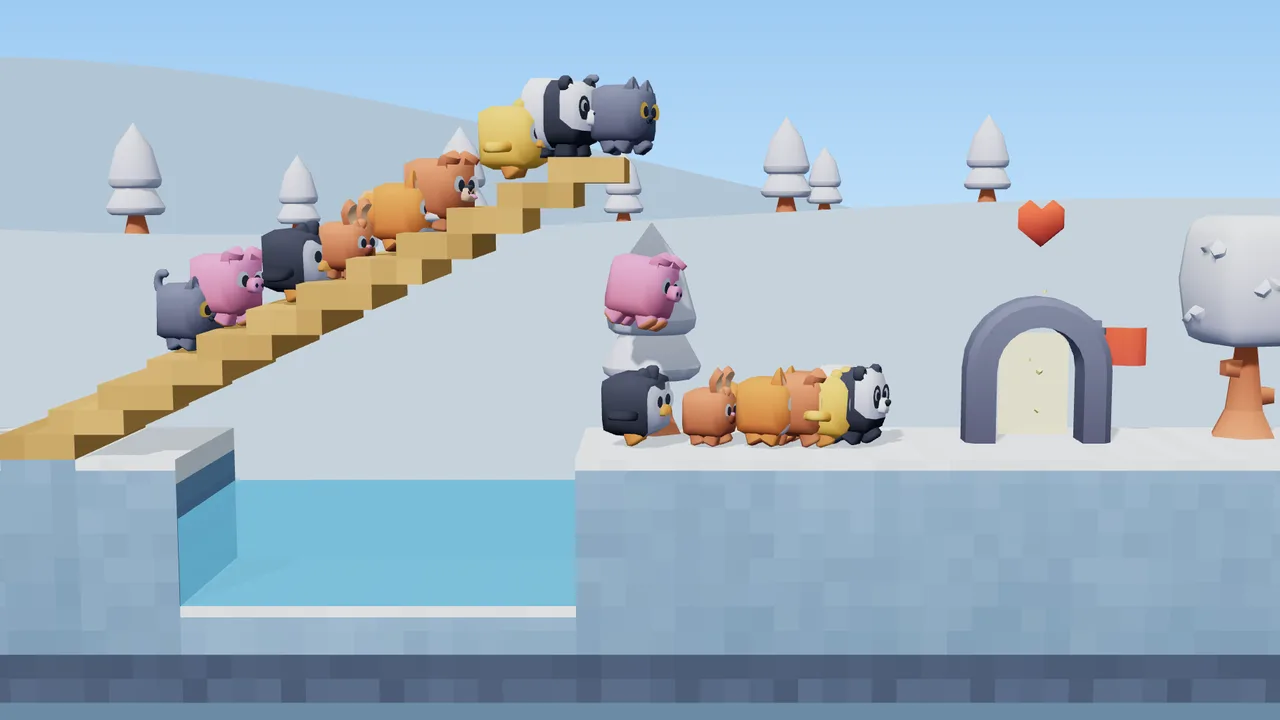
PET PARADE
Guide a parade of cube pets home. Dig, build, bash and blast through 24 puzzle levels in four worlds, or race up to eight players online to bring your herd home first. Touch and gamepad supported.