Price every mistake before you make it
The result screen adds up fixed parts, and the drops are steeper than they look. The stealth part is 800 with no alarms, 250 after one, 100 after two and nothing after three, so the first alarm alone costs 550 points. The clean part is 400 with no kills, then 160, 120, 80, 40 and finally nothing, so the first guard you kill costs 240.
Lethal headshots add 40 each, up to five, but that never pays for killing a guard: the first guard headshot nets you minus 200. Only a headshot on the target itself is free, because the target does not count as a kill. Time is worth half a point for every second under the 20-minute par, so one retry (minus 100) costs as much as 200 seconds. Hurting an innocent costs 500, and no total drops below 100.
Which methods can still reach S
S needs 3,400. Assuming no alarms, no kills and no retries, these are the latest finishing times that still make it:
- Disguise: under 15:00 with the bonus evidence, under 6:40 without it.
- Sabotage: under 11:40 with the bonus, under 3:20 without it, barely above the 2:30 minimum the server accepts for any run.
- Snipe: under 9:40 with the bonus and a lethal headshot on the target, under 8:20 with a body shot. Without the bonus, Snipe cannot reach S at all.
- Direct assault: no method bonus, so S is out of reach.
Get the bonus before the third required clue
In every operation the bonus evidence is a hack during Investigation, and this is where most people lose it. The phase ends 1.6 seconds after the last of its three required objectives is done, and the bonus objective belongs to that phase, so it disappears with it. Do the hack before you finish the third required clue.
The hack is a timing dial: press as the needle passes the lit arc. Operation 1 needs 3 hits, Operation 2 needs 4 and Operation 3 needs 5, and each level spins faster with a narrower arc. Three misses end the attempt with a noise heard about 10 m away, but the terminal stays available, so step back, let any guard settle and try again.
Operation 1, Phase 1: Investigation
You start at the safehouse. Sister Lucía at the San Lucas church is about 65 m away, while the port is roughly 250 m off, so the church visit is the cheap one to take first. At the port there are three jobs: the dock conversation, the sun-marked container and the bonus manifest at the port office terminal.
Eavesdropping needs no button. Stay within 6 m of the foreman and the lieutenant and the recording fills over 15 seconds. Drift out to between 6 and 18 m and it pauses with “Get closer…” instead of resetting. It is lost only if either speaker becomes alert, and then the pair won’t talk again for 12 seconds. The photo is taken with the camera (weapon 3): get within 40 m, point it straight at the container with nothing in between, and fire. Raising the camera doesn’t count as aiming a weapon, so it doesn’t alarm anyone.
Phases 2 and 3: Proof and Truth, then Infiltration
Proof and Truth runs in order. Cut the lock on container C-17, which is a 2.5-second hold, and the captives are revealed; then hear Rosa’s testimony. Infiltration is the long drive: the Templo del Sol is roughly 370 m from the port, out in the jungle, so take a car.
Inside, four mirrors carry sunlight from the sun disk to the Sun Gate. Each mirror has one reflecting face that can point to four diagonals, and light hitting the back of a mirror is simply blocked, so if the beam stops at a mirror, turn that mirror rather than the next one. Then take the ledger from the vault. That completes the Docket and opens the Verdict.
Phase 4: reading Ibarra’s loop
Mateo Ibarra appears at the mansion only now, and he walks a fixed loop: he waits about 12 seconds near the auction hall, walks to the gazebo and waits 14, then walks to the armoured SUV in the garage and waits 8 before heading back. Each method meets him at a different stop.
- Snipe: the park water tower nest is 14 m high. By the mission’s coordinates it is about 46 m from the SUV stop, 61 m from his starting spot and 79 m from the gazebo. A rifle kill counts as Snipe when fired from no more than 2 m below the nest, or from 45 m or more anywhere. One rifle body shot does 140 against his 130 health.
- Disguise: take a cartel guard uniform from a downed guard or the locker in the jungle camp, reach him at the gazebo and use the takedown. On the target the takedown is lethal; on guards it is always a knockout. The elite guard, who sees through a disguise from much farther away, paces a short line through Ibarra’s starting spot and pauses 12 seconds at each end; its nearer end is about 11 m from the gazebo, so check where it is before you close in.
- Sabotage: rig the SUV with a 3-second hold. When Ibarra comes within 2.4 m of it, it explodes with a 5 m radius that hurts everyone inside it; standing that close costs you up to 90 health.
Phase 5: Escape
The operation ends when you are more than 140 m from the mansion and no one is in combat with you for 2 seconds. If a guard is still shooting, distance alone will not finish it. A car covers 140 m quickly, and guards hit you less often while you are in a car, while you move fast and while you crouch.
Habits that cost runs
A few guard and weapon rules that are easy to miss:
- Aiming the pistol or rifle within 30 m of a guard who can see you fills his suspicion faster than anything else, and a disguise does not cover it.
- Shooting a knocked-out guard kills him, turning a free knockout into a kill.
- A suppressed pistol headshot does 120 at point blank, falling off with range: it drops a 100-health guard in one shot only within about 23 m, and never kills the target in one.
- A rifle shot, hit or miss, is heard 120 m away, and a miss sends the target running.
- In disguise, crouching within 6 m of a guard of that faction, or hacking, cutting a lock or rigging a device in view, raises suspicion quickly.
- Your health refills at 12 per second once you have gone 6 seconds without being hit, so break line of sight and wait instead of pushing through.
What changes in Operations 2 and 3
The structure is the same, but the numbers tighten. The sniper nests are higher, the gantry crane at 18 m and the west tower at 16 m, so the height rule moves with them. The bonus hacks need 4 and then 5 hits. Proof and Truth adds close photos, from within 18 m in Warehouse 9 and 16 m in the drone hangar, and Operation 3 adds a 3-second hold to pull the flight plan from Drone A. Every operation keeps the same 20-minute par, the same scoring and the same 140 m escape radius.
Play it yourself
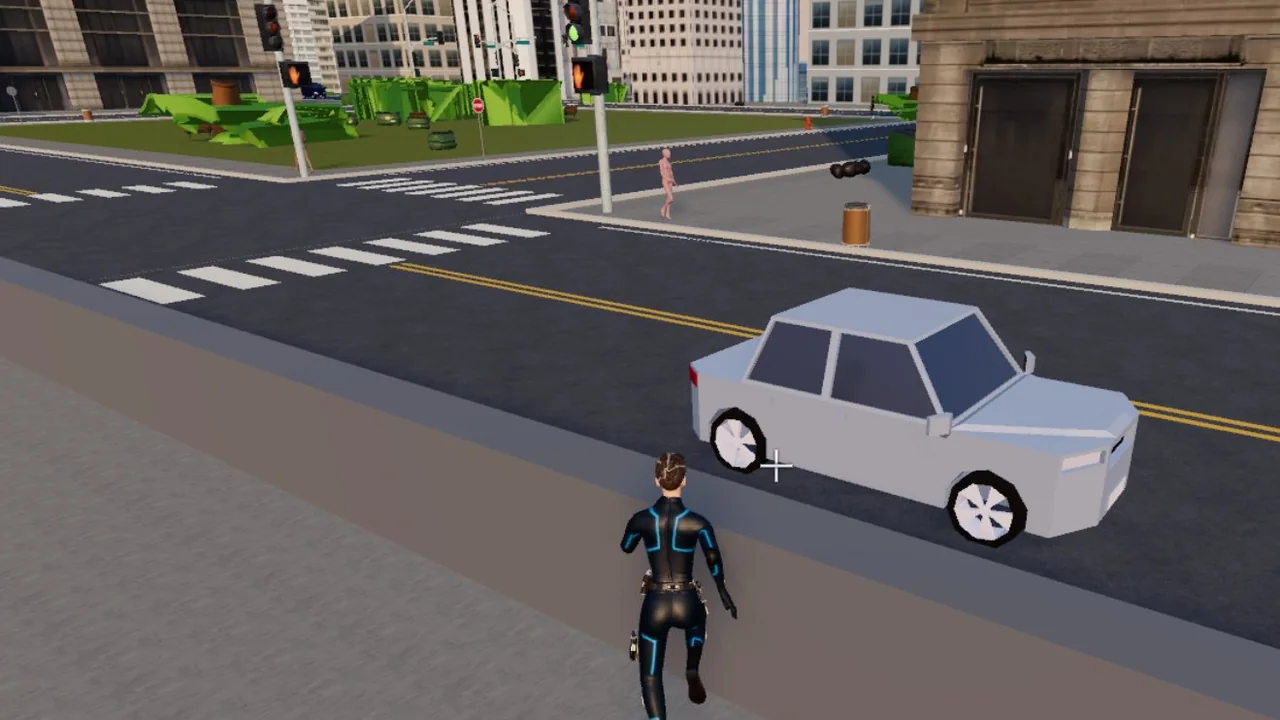
GRAND VERDICT
Deliver the verdict in an open-world city. Sneak, snipe and explore three cities (a harbor at dusk, a snowbound industrial city and neon night streets) to gather evidence and expose the crime, then carry out the verdict by sniper, disguise or sabotage. Three campaign chapters and online bounty hunts for up to 8 players. Touch and gamepad supported.