Where to put the three points
Before a run you split exactly 3 points among Attack, Speed and Defense, with at most 3 in one. The default is one point in each, and the game won't start while any point is left over. Each point does one fixed thing:
- Attack: +2.5 base damage. Every move is a multiple of this number, so it raises all of your hits at once.
- Speed: +12 walking speed. Running is 1.75 times your walk, so the bonus carries over.
- Defense: +10 max HP and 8% less damage taken. Three points means 30 more HP and 24% less damage from every hit.
What each fighter's chain really deals
With the default build, these are the four hits of each basic chain, taken from the game's damage table. The next press has to come within 0.9 seconds or the chain starts over from the first hit.
- Kang Hyuk: 15, 15, 17, then a 28-damage uppercut, 75 in total. The uppercut throws ordinary enemies into the air, and hits on an airborne enemy deal 70% damage.
- Yuna: 13, 14, 16, then a 21-damage spin kick that hits both sides, 64 in total. Her kick and spin kick give her the longest reach of the three basic chains.
- Musoe: 18, 18, 23, then a 37-damage lariat that hits both sides, 96 in total. A Punk has 56 HP solo, so his first three hits already finish one.
Choosing a skill
All three skills are multiples of your base damage, so with the default build Kang Hyuk deals 32 with Rush Strike, 29 with Spin Sweep and 41 with Rising Dragon.
Rush Strike (6-second cooldown) lunges a short distance, knocks down everyone you pass through and makes you invulnerable for 0.3 seconds. Spin Sweep (7 seconds) has the widest area in the game apart from the super: it hits both sides with almost double the usual depth, so it is the one for crowds and for the 5-hit combo bonus. Rising Dragon (5.5 seconds) has the shortest cooldown and the biggest hit of the three. It launches ordinary enemies and gives you 0.5 seconds of invulnerability, so you can use it to answer an attack you see coming.
The perk draft
After Stages 1, 2 and 3, each player is dealt three of the nine perks they don't already have and has 12 seconds to choose. If time runs out, the first card is taken. Everyone also gets 20 HP back at every break.
- Steel Fist: +20% damage. Iron Wall: −20% damage taken; it stacks with Defense points.
- Steel Heart: +25 max HP, 50 HP right away, and you come back from a knockout at 75% HP instead of 50%.
- Rage Overdrive: the gauge fills 50% faster and keeps 25 after a super. Gale: +8% speed, the dodge recovers in half the time, and its invulnerability lasts 0.12 seconds longer.
- Skill Mastery: skill cooldowns 40% shorter and skill damage +25%. Combo Leech: when a 5-hit or longer combo ends, you heal 2 HP per hit.
- Weapon Master: weapons last twice as long, thrown weapons deal 60% more, and you start each stage holding a pipe. Bounty Hunter: +50% points per knockout, and wanted fighters drop an extra gold bar.
Crates, food and weapons
Every stage has four drums, crates or bins. Each one breaks after two hits, or when a thrown enemy or a charging enemy runs into it. Cola heals 25 and chicken 70, but food stays put while you are at full health, and anything dropped vanishes after 22 seconds. Money is $500 and the Dockside Warehouse's gold bar is $1,500.
A steel pipe has 8 uses and the longest reach of any regular attack, 1.9 times your normal reach. A knife has 10 uses and swings faster. Every enemy or crate a swing touches uses one charge. Taking a hit makes you drop the weapon, and a continue takes it away. Pressing the throw key sends the weapon flying for 1.8 times your base damage and knocks down the first enemy it hits. A thrown pipe falls back to the floor where you can pick it up again; a thrown knife is gone.
Stages 1 and 2: Back Alley and Subway Platform
The Back Alley has four zones. Two Punks; then two Punks and a Slim; then two Slims, a Punk and Molly; and finally Bulldog with a Punk and a Slim. Once that last group is almost gone, another Punk comes in from the other side. The second container, a crate, holds a pipe. No wanted fighter appears in the first two zones. The stage challenge is to hit another enemy with a thrown one.
The Subway Platform added a train on 2026-10-14. Starting 5 seconds into the stage and then every 9 seconds, the strip of floor nearest the screen turns yellow for 1 second and then red for 1.4 seconds. Anyone standing in that strip during the red phase takes 10 damage. That includes enemies, so luring a group onto the strip is free damage. A jump is too short to wait out the red phase; step back behind the yellow line instead. This stage has two Bulldogs in its last zone, a knife in the first crate, and asks for 2 JUST dodges.
Stages 3 and 4: Dockside Warehouse and Steelworks Conveyor
The warehouse has only three zones, and the third is Iron Mask (540 HP solo, 260 more per extra player) with two Punks. His slam sends a shockwave along the floor that knocks you down, so dodge it or step off its line rather than jumping late. He walks 30% faster once he is below 40% health. The challenge is two team combos; solo play swaps it for hitting two enemies with thrown bodies.
The Steelworks Conveyor is the longest stage. It adds Rivet, whose frontal shield takes all but a quarter of each hit, a conveyor belt that pushes everyone standing on it toward the right, and three steam vents, which count toward the challenge when they scald enemies twice. The last crate before Foreman Hammer holds a pipe. Hammer has 680 HP solo and the slowest wind-up of any enemy, a full second. At half health he calls in a Rivet and a Slim.
Reading the regular enemies
- Punk (56 HP, 8 damage): the basic puncher. He hesitates now and then before swinging.
- Slim (44 HP, 7 damage): speeds up when he is far away and lunges from about a third of a screen away when you share his line. Change depth, moving up or down, and the lunge misses.
- Molly (40 HP, 10 damage): keeps her distance and lobs bottles at where you are standing. Close in fast. When you get near she backs off, but she can't throw while she is moving.
- Bulldog (135 HP, 16 damage): armored while winding up, and from mid-range he charges along your line for 1.3 times damage. Stepping off his line stops the charge from starting.
- Rivet (115 HP, 12 damage): shielded from the front until he is staggered or down, with a long 0.7-second recovery after he swings. That pause is the moment to get behind him.
What changes with friends
Each extra player adds one enemy to every zone, any co-op game adds one enemy to every ambush, and from Stage 2 on a zone can hold two wanted fighters instead of one. A team combo, worth 250 points, is any hit you land within 1.2 seconds of a teammate launching, throwing or knocking down that enemy.
A knocked-out player gets back up after 8 seconds at half health as long as someone is still standing, and a teammate holding the rescue button beside them for 1.5 seconds does it sooner. That works twice per stage. After a third knockout the player sits out until the next stage, which they start with at least 60% HP.
At the end of a stage the tally pays (200 − seconds) × 10 as a time bonus and 5 points per HP still standing. NO CONTINUE pays 1,000 only until anyone uses a continue in that run.
Play it yourself
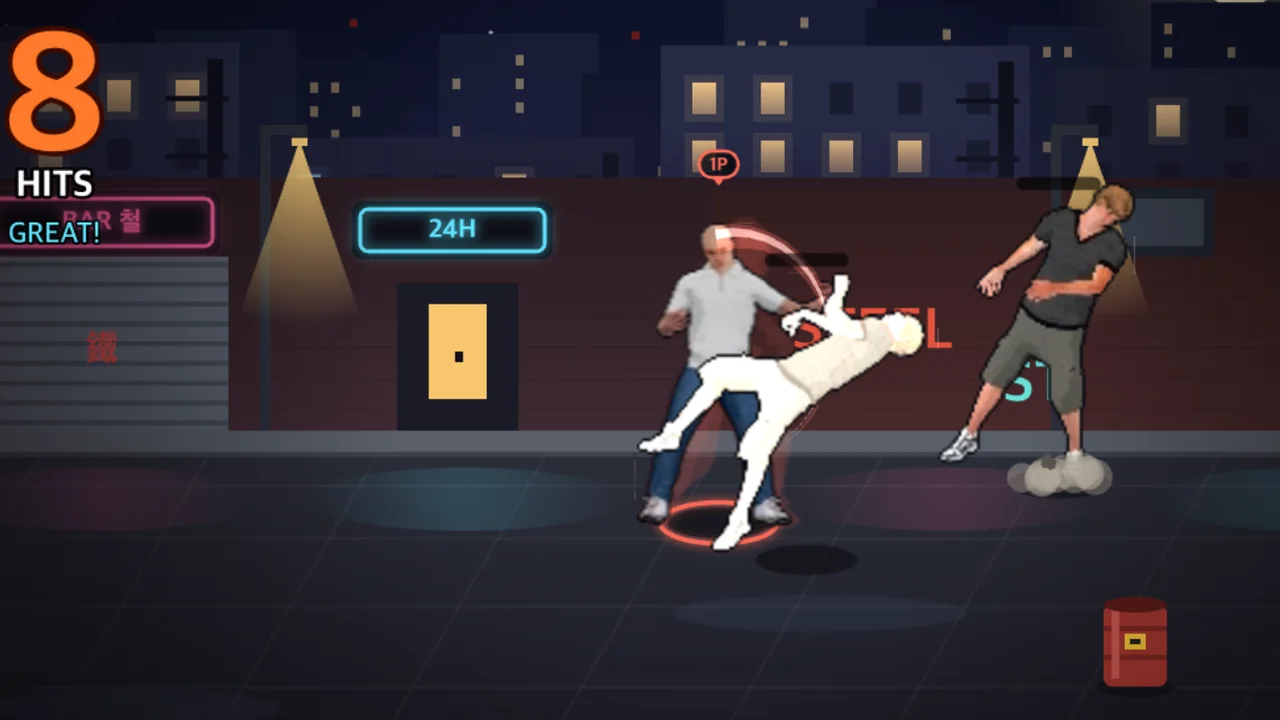
STEEL STREET
Fight from back alleys to the steelworks with up to three players. Combos, grabs and throws in a co-op beat ’em up.