What you start with
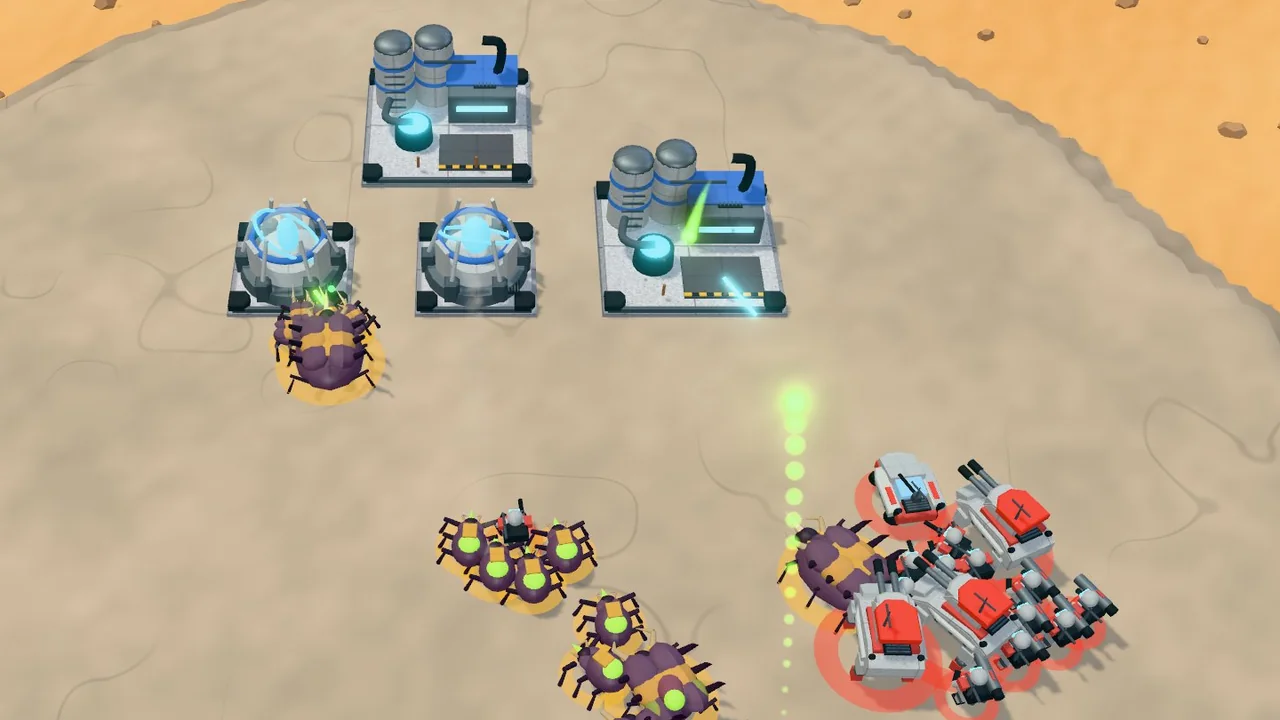
Every standard match starts with 5,000 crystal, your headquarters (Expedition HQ, Tribal Base or Hive) and two scouts in front of it: two Power-Armor Infantry for the Coalition, two Sand Raiders for the Nomads and two Bladebugs for the Swarm. Supply is fixed at 200; there is nothing to build to raise it. A harvester takes 2 supply, a Walker Tank 3, a Drop Base Ship 4.
Production has five queues, one each for buildings, defenses, infantry, vehicles and aircraft, and all five run at once. Each works on one item at a time. A unit queue can hold up to nine of each unit, but the building and defense queues take a single order: you cannot order the next building until the previous one has been placed.
Crystal is paid while you build
Nothing is charged up front. An item drains crystal steadily while it is being built, at its price divided by its build time, so a 1,500-crystal Refinery on its 14-second timer costs about 107 crystal a second. You can order more than you can afford: when crystal runs out, the queue simply pauses and the game warns you that funds are short. With all five queues busy, your spending rate is the sum of all of them, which is how an opening goes broke without any single purchase looking expensive.
A finished building or defense waits on its card until you place it, and until then that queue is idle. Place each building as soon as it is ready. A second construction yard (from a Drop Base Ship or Sand Mothership) speeds the building queue the same way extra barracks speed infantry.
The power budget
The Coalition and the Nomads run on power, and you are short as soon as use exceeds supply; exactly equal is fine. Each HQ supplies 10. A Fusion Reactor (300 crystal) adds 100; a Solar Collector (250) adds 75. What each building draws:
- Coalition: Refinery 30, Drop Barracks 20, Armor Factory 30, Comm Tower 40, Airfield 40, Orbital Uplink 150, Pulse Battery 10, AA Battery 15, Rail Turret 25.
- Nomads: Refinery Tent 25, Warrior Camp 15, Workshop 25, Watchtower 30, Glider Field 20, Storm Generator 120, Blaster Post 10, Rocket Nest 20.
- Coalition with one reactor: 110 supply runs a refinery, barracks and factory (80) and even a second refinery (110), but the Comm Tower tips it over. Build the second reactor first.
- Nomads with one collector: 85 supply runs a Refinery Tent, camp and Workshop (65), but a second Refinery Tent (90) is already too much.
How harvesters earn
A harvester mines 35 crystal every half second, 70 a second, from one tile at a time, and unloads at 250 a second. The Coalition’s Mining Crawler carries 700, so it spends 10 seconds filling and 2.8 seconds unloading, and drives at 1.3 tiles a second. The Nomads’ Sand Harvester carries 550 (7.9 seconds to fill, 2.2 to unload) but drives at 1.5, or 1.65 on sand. It has 450 health against the Crawler’s 700 heavy armor.
Driving is most of the trip, so distance decides income. By my arithmetic, ignoring turns and waiting, a field 10 tiles from the refinery gives a Crawler about 28 seconds a round trip, roughly 25 crystal a second, and a Sand Harvester about 22 seconds, nearly the same rate. Only one harvester unloads at a refinery at a time; the next waits its turn. Three or more harvesters on one refinery start to queue, and that is the point where a second refinery pays off.
A Refinery costs 1,500 and comes with a harvester; a harvester alone costs 1,100 from the factory and needs a refinery already standing. The extra 400 also buys a second unloading dock, at the price of 30 power.
Absorption Nests: the Swarm’s income
The Swarm has no harvesters and no power. An Absorption Nest (1,000 crystal, 12 seconds, after an Evolution Pool) can go next to any crystal field you can currently see that has at least four crystal tiles around the spot, however far from your Hive. Every half second each nest takes 3 crystal from the richest tile in reach, 6 a second, so it repays its price in under three minutes and then keeps paying.
Nests never travel, so they never wait at a dock or draw the worm, but they cannot follow a field that runs dry. Because each nest also counts as a building for placement, it opens a new building area around a distant field.
How fields regrow
A crystal tile holds up to 500. Every 5 seconds each tile that still holds crystal regrows 12, which is 2.4 a second. Crystal blossoms regrow 40 every 5 seconds and are never used up. A tile mined to zero comes back only from a neighbour: every 5 seconds an empty tile next to a tile with crystal has a 10% chance of returning at 40. Tiles under a building do not regrow at all.
Two things follow. Four tiles still holding crystal regrow about 9.6 a second, more than a single nest draws, so a nest on a healthy field does not exhaust it by itself. A field stripped bare by several harvesters takes much longer to recover than one that was only thinned, so spreading harvesters across fields keeps more of each field alive.
The opening the computer uses
The computer works through a fixed opening list for each faction. It builds defenses separately (from 4 minutes on Normal and Hard, 8 on Easy), adds extra power whenever its spare power drops below 15, and stops adding refineries or nests at its level’s cap. Without the defenses, the lists make a sound first template:
- Coalition: Fusion Reactor, Refinery, Drop Barracks, Fusion Reactor, Armor Factory, Refinery, Comm Tower, Fusion Reactor, Airfield.
- Nomads: Solar Collector, Refinery Tent, Warrior Camp, Solar Collector, Workshop, Refinery Tent, Solar Collector, Watchtower, Solar Collector, Glider Field.
- Swarm: Evolution Pool, Absorption Nest, Absorption Nest, Carapace Den, Absorption Nest, Absorption Nest, Nest Spire.
Before the worm arrives
In a standard match the worm appears at 2:30. Every crystal field lies on sand, so from then on any harvester that is mining can draw it. On a 1v1 map each side has four fields: one just outside the main base’s ramp, two forward fields, and a richer, larger field near the centre that is in the worm’s area. The first two and a half minutes are therefore the cheapest time to work the far fields. After that, keep an eye on harvesters on the centre field and pull them back when the sand heaves. The Swarm gets the clearest benefit: its nests are buildings, which the worm never targets, and its burrowed units are ignored.
Short matches, solo practice and 2v2
A short match skips most of the opening. The Coalition starts with two Fusion Reactors, a Refinery, Drop Barracks and an Armor Factory; the Nomads with two Solar Collectors, a Refinery Tent, a Warrior Camp and a Workshop; the Swarm with an Evolution Pool and a Carapace Den plus 2,500 extra crystal, since it starts with no nests. Everyone gets 8,000 crystal and 1.5× production, and the worm comes at 1:30.
Against the computer, Easy is the place to practise an economy: it keeps at most two harvesters on two refineries (three nests as the Swarm) and does not attack before eight minutes. Normal keeps up to five harvesters on three refineries (five nests), Hard up to eight on four (six nests). In 2v2 each player still has their own crystal, power and queues; only vision is shared, so agree who expands to which field instead of mining the same one.
Play it yourself