How these lines were found
Every line below comes from running the game's own rules file, the same physics the server uses to re-check submitted rounds, over every tee shot at half-degree and 1% power steps, plus the exact shots that keyboard aim can produce. The physics is deterministic, so a line that works in these runs works on your screen as long as you hit the same direction and power.
Directions are counted the way keyboard aim counts them: degrees right or left of straight up. The first keyboard aim on each hole starts straight up at 35% power. ← and → turn 5°, Shift with an arrow turns 1°, and each ↑ adds 5%, so thirteen presses reach 100%. On later shots of the same hole, keyboard aim starts from your previous direction and power instead. Distances use the game's practice readout, which counts 50 course units as 1 m.
Mirrored holes, which appear in the Daily Challenge and four times in Hard 9, flip every line: 34° right becomes 34° left.
Full power is the one setting you can repeat
Power is your drag length divided by a full-pull length, which is 32% of the shorter side of the play area, kept between 140 and 260 pixels, and it is capped at 100%. Pulling past that length therefore always gives exactly 100%, and a line that works at full power only asks you to get the direction right.
From the tee, a full-power shot can hole out on First Putt, The Tilt, Dogleg, Bumper Grove, Sand Trap, Over the Pond and The Summit. The Crater is the exception for the straight putt, which drops only up to about 89%; at full power you need a bank there, 22–23° right or left.
Quick 3 holes
These are also the first three holes of the 9-Hole Course; in both modes they are never mirrored.
- First Putt: besides the straight putt, a one-cushion bank off either side wall drops at 27–29° right or left and 75–90% power. It is a safe place to learn the bank shots that later holes need.
- The Tilt: → twice (10° right) with eleven to thirteen ↑ presses (90–100%) holes it; 11° right works at the same powers.
- Dogleg: aim away from the cup, 31° left (← six times, Shift+← once), at 90–100%. The ball hits the left wall low, crosses to the top wall and drops in about 1.4 seconds after the hit.
Holes 4–6: one bank for two holes
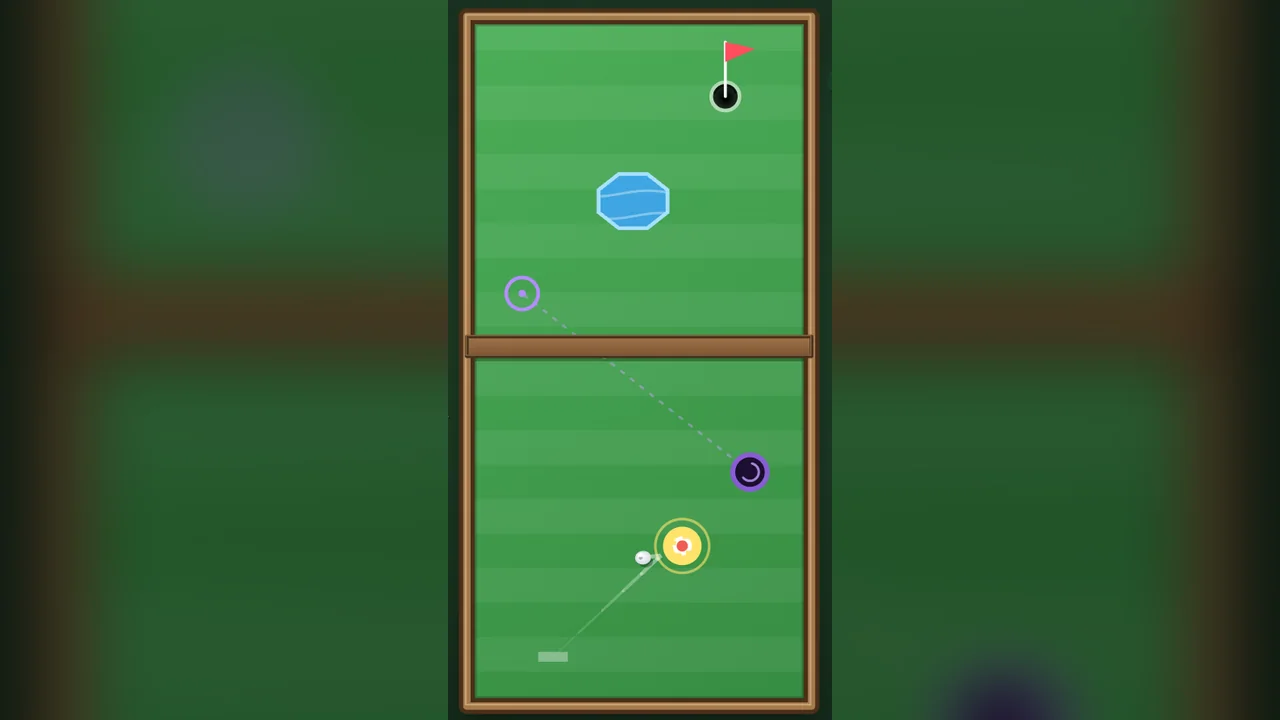
Bumper Grove and Over the Pond share the same lane, tee and cup position, and one bank shot aces both: 34° right or left (→ six times, Shift+→ four times) at 80–100%. The ball meets the side wall just short of halfway up the hole and comes back across to the cup, missing every bumper and the pond. 33° also works at 80–95%.
Straight up is not an option on the pond hole: 27.5% of all tee shots in the sweep ended in the water. On Sand Trap, aim at the cup itself, 6–7° right (→ once, Shift+→ once or twice), at 90–100%. The sand band crosses that line, and softer putts on it stop short.
Holes 7–9: timing, two walls and a crater
- Moving Gate: a straight putt at 80% (↑ nine times) reaches the gate in about 0.46 seconds, or 0.40 at 90%. It gets through when the gate is near either end of its track. Across 48 evenly spaced release moments in the 2-second cycle, that putt holed on 22, so let go about half a second before the gate reaches an end.
- Zigzag: no tee shot in the sweep holed out. The best is full power 60° right (→ twelve times): two cushions carry the ball past both walls to stop about 1.9 m from the cup, which leaves a birdie putt on this par 4. A few degrees further right leaves 2.5–4.2 m; 57–59° leaves about 5 m.
- The Crater: straight, with no turn, at 65–85% (↑ six to ten times). The four slopes around the cup all push away from it, so a ball that misses keeps running; 37–39° either side at 75–95% is the bank alternative.
Hard 9 and its mirrored holes
The order is Bumper Grove (mirrored), Underpass, Moving Gate (mirrored), Twin Ponds, Launch Pad, Pinball (mirrored), Zigzag (mirrored), Triple Warp and The Summit. Bumper Grove is symmetrical, so its mirrored copy plays exactly like the original and the 34° bank still works. On mirrored Zigzag the full-power line is 60° left, and the mirrored gate starts from the other end of its track.
- Twin Ponds: a bumper sits on the straight line just in front of the tee, and 23.6% of tee shots in the sweep went into a pond. Full power at 51–59° left (← eleven times gives 55°) leaves 0.7–1.6 m; 60° left goes in the water.
- Underpass: full power 58–62° right (→ twelve times) banks off the right wall into the tunnel and stops 0.8–1.2 m from the cup.
- Launch Pad: the pad is straight up from the tee, and any straight putt of 66% or more reaches it (↑ seven times). The pad resets the ball's position and speed, so every ball it fires stops on the same spot, about 4.4 m above the cup. From there, bank the second shot about 40° left of straight down off the dividing wall at 60–85%, or 31–35° right of straight down off the outer wall at 55–80%. A bumper blocks most of the straight-down line. That makes a birdie 2 a plan you can repeat.
- The Summit: 19–20° right (→ four times) at 90–100% holes from the tee whatever the moving wall is doing, because the line passes below its track; it worked at all eight release moments tested.
- Pinball and Triple Warp: only 3 of 69,120 tee shots holed on Pinball, and Triple Warp's few holes-in-one depend on the moving wall's timing. Plan for two shots or more.
Typing an angle on a phone
Touch players can use these lines through Precision aim, where you can type the direction and power. Its angle box uses a different zero: straight up reads −90°, and angles grow clockwise, so a line d° right of straight up is −90 + d. The 34° bank is −56 and the Dogleg line, 31° left, is −121.
The shot review and the practice drill count the other way, with right as 0° and straight up as 90°, so the same 34° bank shows as 56° there. The two readouts always differ only in sign: to copy a shot from the review into Precision aim, flip the sign. For the Launch Pad second shot, which points downward, type 130 for the bank off the dividing wall or 57 for the bank off the outer wall.
Two rules that change decisions
A splash adds a penalty stroke, and if that penalty brings you to the stroke limit the hole ends at once. On your second-to-last stroke a water shot therefore costs the hole, not just a stroke: take the dry line even if it is longer.
In the rankings, a new round replaces your record only when it is strictly lower. Players on the same score are ordered by who set it first, and equalling your own best keeps your original time, so tying yourself does not move you. Daily rounds are accepted until 10 minutes after UTC midnight.
Daily Challenge, Pass & Play and playing signed out
The Daily Challenge draws three of holes 2–12 and mirrors each with an even chance, so check which way a hole faces before using a recipe. Pass & Play's Random 3 holes is drawn the same way, differently for each match. Every player plays a hole before the group moves on, Play again keeps the same three holes for a real rematch, and tied totals name every winner. Pass & Play rounds are not saved and do not add to the Hole Album.
You can play signed out. When a ranked round ends, saving asks you to sign in, and the game keeps the result while you do.
Play it yourself
Mini Golf
Quick 3 holes, no account needed. Challenge a friend on the same course.