How an item reaches you
Each lap is split into six equal stretches, and the line at the end of each one is a supply point. On the 596 m Coastline Circuit that is a point roughly every 99 m; on the 818 m Alpine Ring, every 136 m. You collect by crossing the line almost anywhere on the road; there is no ring to aim for. You carry one item at a time. Cross a point while still holding one and you keep your item, but that point is spent: nothing new comes until the point after.
What you get depends on your position at the moment you cross, not your position at the start of the lap. In a full field of eight, the game draws from three tables:
- 1st and 2nd: Rubber Cone 35%, Oil Slick 20%, Shield Bubble 20%, Triple Cones 15%, Grip Tires 10%.
- 3rd to 5th: Jelly Shot 25%, Mini Boost 20%, Oil Slick 15%, Rubber Cone 15%, Shield Bubble 15%, Grip Tires 10%.
- 6th to 8th: Overtake Boost 35%, Triple Boost 20%, Magnet 20%, Jelly Shot 15%, Mini Boost 10%.
Your first race, step by step
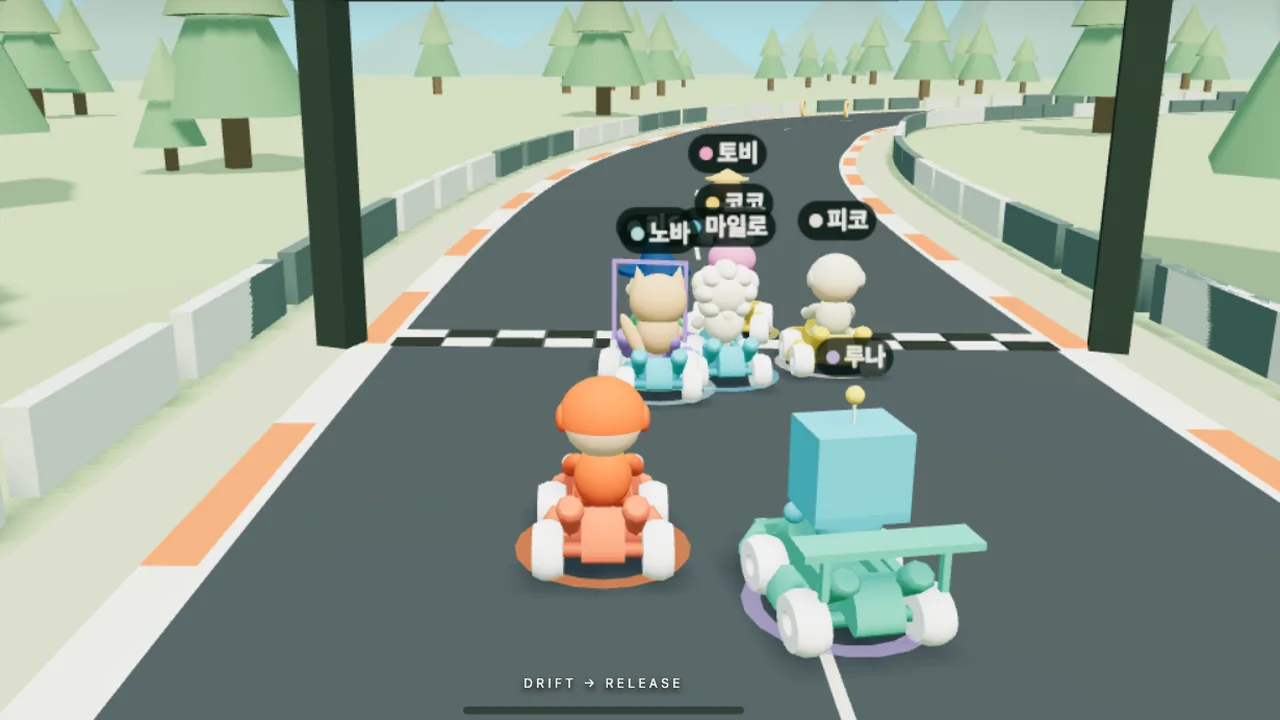
The first time you open the game, the setup screens are already on Coastline Circuit, the Rookie class, Rival AI, individual race and items on. In a solo race you line up behind all seven AI karts, so you reach the first supply point near the back and your first item is likely to come from the catch-up table. Use it on the first long straight rather than saving it, because while you hold it the next supply point gives you nothing.
To earn the track’s star you need a top-three finish against Rival or Apex AI; Chill AI never counts. On Rookie, the Rival drivers aim for between about 68 and 82 km/h on the straights, depending on the driver and kart, while a Classic kart tops out at 80 km/h. None of them slows down for you, and the fastest is quicker than you in a straight line, so the ground has to be made up in corners and with items.
Boosts do not stack, so space them out
Every speed-up raises your speed limit by a set factor for a set time: Mini Boost +8% for 1.4 s, Overtake Boost +12% for 2.2 s, a dash panel +8% for 0.9 s, a Super Turbo from a drift +25% for 1.4 s. When two overlap, the game uses the highest limit, not the sum, and the extra push that drives you up to it is the same whether one boost or three are running. Firing Mini Boost right as a Super Turbo kicks in therefore adds almost nothing. Fire it as the turbo runs out.
Triple Boost holds three charges, one per press, each worth +8% for 0.9 s. Another press while one is running just restarts the 0.9 s, so wait for each to end. While any charge is left you are still holding an item, and supply points pass you by.
Overtake Boost and Grip Tires also raise your cornering grip by 10%, for 2.2 s and 4 s. Grip Tires do nothing on a straight; use them just before the tightest corner on the lap.
Magnet: fire it from 12 to 28 metres back
For 2.5 s the Magnet lifts your speed limit to 122% and draws you sideways towards the nearest rival 2.5 to 28 m ahead. The moment you get within 12 m and 1.4 m of its line, it turns into an instant slipstream boost and ends. If you fire it with a kart already close in front, it converts almost at once and you lose most of the 2.5 s. The AI uses one only with a rival 12 to 28 m ahead, and so should you.
Jelly Shot: aim with your line, not the corner
The shot leaves 2.2 m ahead of you at your speed plus 24 m/s and lasts 3 s. It follows the course itself, so bends do not make it miss. What makes it miss is sideways distance: it steers towards the nearest rival within 30 m ahead at only 3 m per second, and has to pass within 1.3 m of that kart. Fire when the target is in front and roughly in your line.
A hit cuts the target’s speed limit by 30% for 0.8 s, which takes effect at once. Two things waste a shot. A kart that was hit in the last 2 s is immune, and a shot that reaches it is used up anyway. A kart inside a light-blue bubble has a shield, and the bubble is drawn on every kart, so check before you fire.
Cones and oil: what the leaders leave behind
A Rubber Cone lands 3 m behind the kart that drops it, in that kart’s line, and stays for 10 s. It catches only a kart passing within 1.1 m of it sideways, then disappears. Triple Cones land 3, 6 and 9 m back, the second and third 1.5 m to either side; after the first catches you, 2 s of immunity carries you through the rest. An Oil Slick stays for 8 s and reaches 1.5 m sideways. It leaves your speed limit alone but halves your tyre grip for 1 s and shakes the kart, so it costs little on a straight and a lot in a corner.
The useful consequence: the slipstream asks you to sit within 1.4 m of the line of the kart ahead, and the AI drops cones and oil when a rival is 2 to 14 m behind and within 2.4 m of its line. 70% of the items handed to 1st and 2nd place are a cone, oil or Triple Cones. Drafting a leader is therefore exactly where you get hit. Take the draft, then move more than about 1.5 m to one side before you close in.
Shield Bubble and when to raise it
The shield lasts 5 s and absorbs one cone, Jelly Shot or oil hit; the cone or slick that hit it disappears as well. The AI raises its shield within 1.5 s of picking one up, so an AI that has just crossed a supply point is often protected for the next few seconds. For you the shield is worth more when held back: wait until someone sits close behind you, or until you see cones ahead on the racing line. Just remember that while you hold it, the next supply point gives you nothing.
Playing on a phone: swipe controls
Since the 2026-10-15 update, phones use swipe controls by default. The left half of the screen is the steering wheel: wherever your thumb lands becomes the centre. The first 6 px do nothing, full lock comes at 60 px, and the response is curved so small movements steer gently. Drag beyond full lock and the centre follows your thumb, so steering the other way needs only a short move back.
The right half holds the drift. Pressing and holding drifts once you are steering, dragging down more than 28 px brakes, and a quick flick up of 36 px or more fires your item, even in the middle of a drift. The kart accelerates by itself after GO. During the countdown, holding the right side is the throttle, so press it in the last 0.8 s before GO for the rocket start.
If you prefer the old pedal and arrow buttons, switch Touch controls to Buttons in the menu; your browser remembers the choice.
Team races: how the points really fall
Team races use 2v2, 3v3 or 4v4, and AI karts fill any seat no person has taken, on both sides. Finishing positions score 10, 8, 6, 5, 4, 3, 2 and 1 down the field, and each team adds up its karts. Your items never slow a teammate, and a teammate’s cones and oil cannot catch you. You can still draft a teammate, and you still bump into them.
The arithmetic differs by size. In 2v2 the four places are worth 29 points, so there is no draw, and the team with the race winner always wins: 10 plus at least 5 beats the 14 the other pair can reach. In 3v3 the places add to 36 and an 18–18 draw is possible; in 4v4 they add to 39, so no draw again. In those two, a win is not enough if your teammates finish at the back.
Smaller fields shift the item tables too: in 2v2, 3rd and 4th already get catch-up items; in 3v3, that starts at 5th.
Alone or with friends
Alone against the AI, opening the menu pauses the race; with other people in the room it keeps going. Team races count towards best laps, but not towards best race times, best places or stars.
Since 2026-10-15 a friend room can be created and joined without signing in; guests appear as Guest 1234 and so on. Nobody can join mid-race, and the host can start only once everyone else has pressed Ready. To race on driving alone, turn items off when you create the room: drift turbos, dash panels, slipstream and the rocket start remain, and best laps are kept separately with and without items.
Play it yourself
APEX KART
Race with up to seven friends across five tracks. Drifting, team races and optional light items.